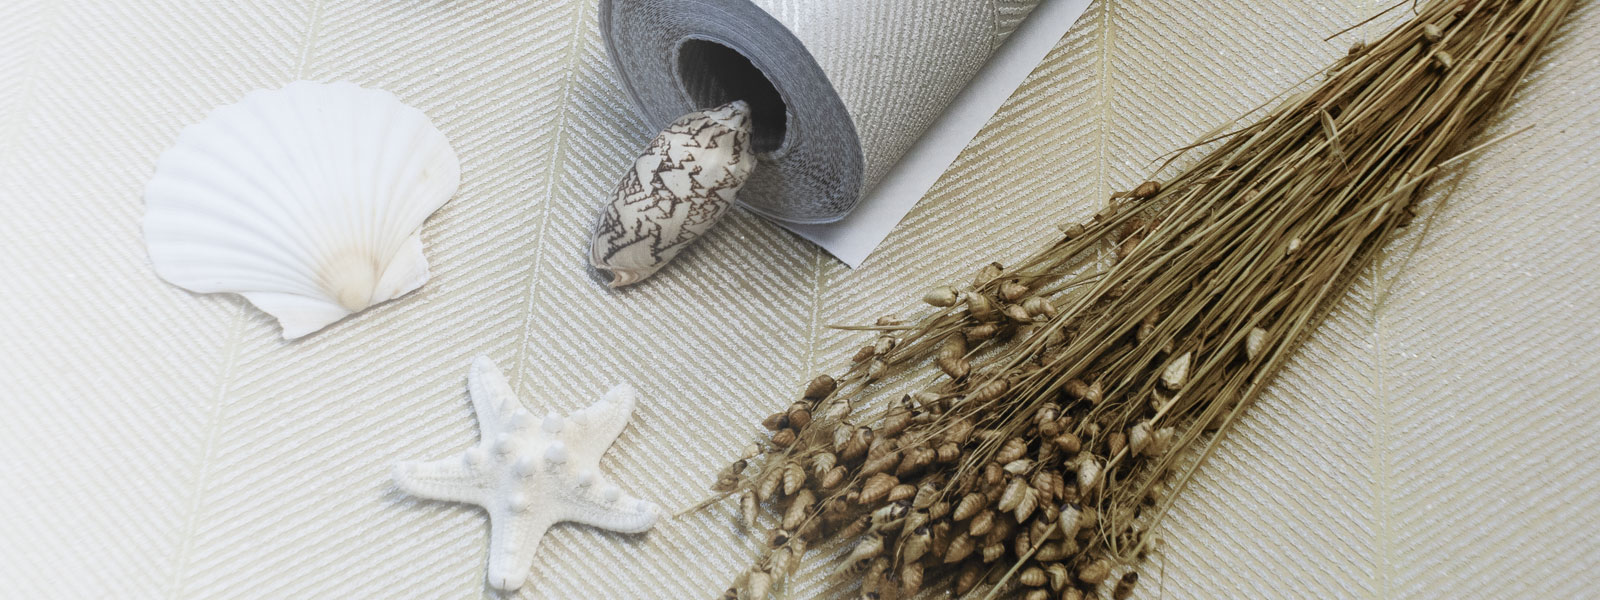
How to Measure for Natural Wallcoverings
1. Measure the width and height of all wall that will be wallpaper.
2. Add all widths (in inches) and divide to total by 36″. Round up to the next number, e.g. if you end up with let say 9.5 round it up to 10. This number will be the number of full strips you will need to cover the wall/walls.
3. Take the height of your wall and add 4″ (2″ on to the top and 2″ to the bottom) you will need that in order to accommodate and crookedness in your ceilings or floors. Convert the measurements into feet. Divide the length of the roll (usually 24′) by the height of the strip. This will give you how many strips you can get out of a roll.
e.g. if your wall is 92″ + 4″ = 96″ (equal to 8′ exactly). 24′ / 8′ = 3 strips. If your wall is 100″ + 4″ = 104″ (equal to 8.7′) 24′ / 8.7′ = 2.75 strips. You can use only 2 full strips to cover the wall/walls top top bottom.
4. Base on this calculation you will figure out how many rolls do you need.
You can use the extra pieces above doors or above and below windows.
Wall Preparation
Walls must be smooth, clean, free of mildew, grease and stain. If necessary, apply a stain hiding primer. Follow with an application of wallcovering primer/sealer. On plastered walls or imperfect walls apply a wallcovering primer/sealer prior to hanging wallpaper. On new drywall, apply a pigmented wallcovering primer /sealer. See your dealer on drying and cure times for primer/sealers before hanging wallcoverings.
Installation
Draw a vertical line from ceiling to floor by using a plumb line or a straight edge with level or use a laser level. This will be your guide for positioning one edge of the first strip. Cut the strip to the height of the wall, allowing an extra 2″ on each end for trimming.
Use a good quality premixed clay-based or heavy duty clear vinyl wallcoverings adhesive (if strippability is desired, use a strippable adhesive). Brush or roll adhesive thoroughly over the back of the wallcoverings, particularly at the edges. Fold wet sides together, top to center, bottom to center, but, avoid creasing the material. Roll the folded strip as you would a loose newspaper and set aside for 2-3 minutes. Carry the strip to the wall and unfold the top half of the strip. Align the edge to the lead pencil plumb-line. Smooth the wallcoverings to wall with a smoothing brush overlapping onto the ceiling and baseboard.
There are two methods to hangs wallcoverings – Paste the Paper and Paste the Wall.
Paste the Paper is applicable if it is definitely specified by the manufacturer or if the wallcovering is unpasted or it is one of the folloing: a very heavy commercial vinyl substrate, a heavy or a rough paper or a coarse and rough grasscloth or surface. This will allow the paste to grab and penetrated the substrate and insure a better bond with the wall.
Paste the Wall is used when specified and when light substrate paper is used. Use this method to prevent getting glue/paste on the surface of the wallcovering, when hanging delicate papers such as silks and fine dark color sisals.
Be sure to remove all air pockets. Butt all seams, DO NOT OVERLAP, unless you are planing to double-cut the seams. A seam roller may be used to roll down the seams to the wall but light pressure should be used to prevent removal of adhesive from the edges. Use scissors or sharp razor knife to trim excess at baseboard, ceiling line, and around window, doors, etc. Remove excess adhesive immediately using clean water and sponge, unless you are hanging a natural grass type of product. Water on the surface of a natural material wallcoverings, usually causes discoloration and/or spots on the product. AVOID it at any cost!
For all non-matched patterns reverse every other strip for best effect.
Please read label on adhesive can to make sure you have the correct paste for the item you are hanging.
DUE TO THE NATURE OF THE PRODUCT, THE NATURAL HANDCRAFTED WALLCOVERINGS HAVE VARIATIONS IN COLOR, SHADE AND TEXTURE.
Cleaning
Gentle Vacuuming and Light Dusting ONLY. Never use water on Natural Wallcoverings!

